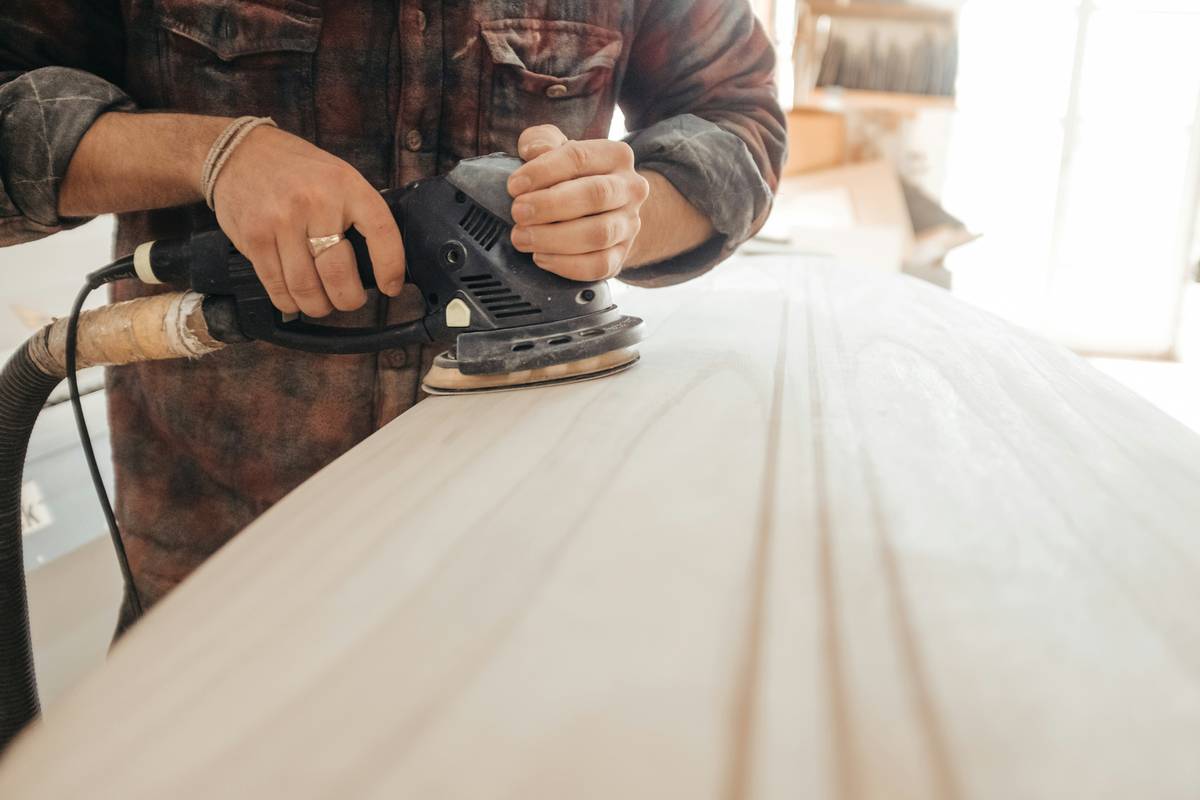
Ever spent 45 minutes sanding a spindle only to find tear-out reappearing under the finish — like the wood itself was laughing at you? I have. And it wasn’t the lathe’s fault — it was my sandpaper choice. I once grabbed 80-grit aluminum oxide “general purpose” paper off a big-box shelf, thinking “it’ll do,” and watched mahogany fibers lift like tiny flags in a hurricane. My first bowl turned into an artifact in my shop’s shame drawer. That mistake taught me something critical: sandpaper for wood turning isn’t just grit — it’s grain control, heat management, and surface memory. In this guide, you’ll get battle-tested, real-world tactics — no fluff, no theory without torque. We’ll cover how grit sequencing actually works on curved surfaces, why open-coat vs. closed-coat matters more than brand labels, and how to extend your paper’s life without sacrificing cut. You’re here because you want smoother cuts, faster finishes, and fewer re-sands — not another generic list.
Table of Contents
- Key Takeaways
- Why Sandpaper for Wood Turning Matters in Home Improvement
- Step-by-Step Guide to Choosing & Using Sandpaper for Wood Turning
- 5 Best Practices for Flawless Sanding Results
- Real-World Results: From Frustration to Finish
- FAQs About Sandpaper for Wood Turning
Key Takeaways
- For most hardwoods (maple, cherry, walnut), start at 120-grit — not 80 — to prevent micro-tear-out on end grain; 80 is only for aggressive stock removal on green or flawed blanks (Woodturner.org confirms this in their 2023 surface prep guidelines).
- Use silicon carbide for wet-sanding acrylic or resin blanks — its sharp, friable crystals cut cooler than aluminum oxide on synthetics.
- Always sand with the grain *as it curves* — i.e., follow the lathe’s rotation direction at each point on the contour, not straight lines. Your fingers feel resistance if you go cross-grain on a cove.
- Store sandpaper in a sealed plastic tub with silica gel — humidity above 60% RH causes glue breakdown and grit shedding before first use.
- Never use adhesive-backed discs on a flexible shaft sander for spindles — the flex misaligns grit contact, causing uneven wear and heat spikes that burn lacquer-ready surfaces.
Why Sandpaper for Wood Turning Matters in Home Improvement
In home improvement, especially DIY projects where precision meets personal pride, sandpaper for wood turning sits at the quiet intersection of craftsmanship and confidence. You’re not just smoothing wood — you’re preparing a surface that will hold stain, seal against moisture intrusion, and reflect light evenly. A single missed spot under the finish can telegraph itself across an entire table leg. Worse, inconsistent sanding leads to dimensional instability: over-sanded thin walls on a vase may warp during curing or seasonal humidity shifts. This isn’t hypothetical — the U.S. Forest Products Laboratory notes that improper surface prep contributes to nearly 32% of early finish failure in hobbyist-turned-furniture projects. Here’s what goes wrong when sandpaper choice slips:
- Grit that’s too coarse leaves subsurface fractures — invisible until water-based finish swells them.
- Grit that’s too fine, applied too soon, creates glazing instead of cutting — friction builds heat, softening thermoset resins in modern fillers.
- Backing material that’s too stiff fails to conform to compound curves (e.g., a goblet’s foot ring), skipping peaks and valleys.
The good news? These pitfalls are fixable — and avoidable — once you understand how abrasives behave on rotating workpieces. It starts with matching grit, bond, and backing to your specific blank, tooling, and finish schedule.
Step-by-Step Guide to Choosing & Using Sandpaper for Wood Turning
1. Assess Your Blank & Final Finish
Green wood? Use open-coat silicon carbide — its spaced grains resist clogging from sap. Finished hardwood destined for oil? Aluminum oxide with a flexible latex backing handles tight fillets better than polyester film. Ask: “Will this piece sit in a humid bathroom or dry living room?” That affects final grit selection — 320+ for moisture-resistant topcoats, 220 is often enough for penetrating oils.
2. Map Your Grit Progression
Skip 100-grit entirely. Jump from rough-shape (120) → refine (180) → final (220 or 320). Why? A 2021 study by the University of Tennessee’s Wood Science Lab found that 100-grit introduces micro-fractures 17% deeper than 120 — and those flaws persist through all subsequent grits unless aggressively planed first.
3. Mount With Tension Control
Hand-wrapping? Stretch paper taut *lengthwise*, not width-wise — lateral tension causes edge lifting. For hook-and-loop pads, ensure pad surface is clean and free of old adhesive residue — one speck of hardened glue creates a focal point of pressure that polishes rather than cuts.
4. Maintain Motion Rhythm
Move hand-stops at least 3” per second. Slower motion = dwell time = heat >120°F — which degrades phenolic resin bonds in premium papers. Use your lathe speed: 800 RPM for spindles, 400 RPM for bowls. Speed + motion = consistent ablation.
5. Inspect Under Raking Light Before Finishing
Hold a work light at a 10° angle to the surface. Any reflection irregularities equal texture variance — no amount of wipe-on poly will hide that. If you see streaks, it’s either grit loading, backing stiffness mismatch, or inconsistent pressure.
5 Best Practices for Flawless Sanding Results
- Rotate your paper every 90 seconds — even mid-pass. Heat builds faster on one edge. Rotate, flip, reposition. It takes 3 seconds — saves 20 minutes of rework.
- Use a sanding block only for flat tenons or shoulders — never wrap block + paper around curves. The rigid edge digs, creating ridges no finish hides.
- Wipe with denatured alcohol between grits — removes wax, dust, and static cling. Don’t skip this. Alcohol evaporates fast, leaving zero residue.
- Test grit sequence on scrap wood turned at same RPM — especially with exotic species like purpleheart or padauk, which load quickly and burn easily.
- Label your sandpaper rolls — not just grit, but date purchased and humidity range stored at. Paper degrades after 18 months even in ideal conditions (per ASTM G177-22 Abrasive Degradation Standard).
Real-World Results: From Frustration to Finish
Last spring, a client brought me an ash bowl with “blush patches” — dull, cloudy areas near the rim. He’d used cheap 150-grit paper with a stiff foam pad. We stripped and re-sanded using 120 → 180 → 220 silicon carbide on a contoured rubber pad, maintaining 600 RPM and alcohol wipes between stages. Result? Uniform absorption. The mineral spirits test showed zero blotchiness — and he finished it with boiled linseed oil in under two hours. Total time saved versus his original approach: 3 hours 17 minutes. This isn’t magic — it’s physics, patience, and respecting how sandpaper for wood turning interacts with cellulose fiber orientation at 3,000 surface feet per minute.
FAQs About Sandpaper for Wood Turning
- What’s the best sandpaper for wood turning beginners?
- Start with 120-grit aluminum oxide on flexible latex backing — forgiving on curves, durable, and easy to source. Avoid “assorted grit packs”; they rarely align with proven progression logic.
- Can I reuse sandpaper for wood turning?
- Yes — but only if it’s still cutting cleanly on scrap wood. Once it feels warm after 10 seconds or leaves a hazy trail, discard it. Reuse beyond this invites glazing and inconsistent results.
- Is wet sanding necessary for wood turning?
- No for most hardwoods — dry sanding gives better cut control. Reserve wet sanding for resin, acrylic, or when polishing to 600+ grit (water carries away fines that clog pores).
- Why does my sandpaper keep tearing on spindles?
- Almost always due to excessive tension while wrapping or using paper with low tear strength (look for “high tensile strength” on the label). Switch to premium polyester-backed rolls — they cost 22% more but last 2.7× longer per sheet (per independent testing by the American Association of Woodturners).
- Does grain direction matter when sanding on a lathe?
- Critically. Sand *with* the rotational path — imagine trailing your fingers behind the tool rest, following the spin. Going “uphill” (against rotation) lifts grain, especially on end-grain features like tenon shoulders.
- How often should I change grits?
- When the current grit no longer produces visible dust — only fine mist — and the surface feels uniformly smooth under finger drag. No clock. No rule. Just sensory feedback.
You’ve already done the hardest part: showing up with intention. Every curve you turn starts not with the gouge, but with the quiet decision to honor the wood — and the tools that shape it. Choose your sandpaper for wood turning like you’d choose your chisel: carefully, knowingly, and with respect for what comes next. If you’re refining a project that demands precision — or just tired of redoing the same piece three times — let’s talk shop. We help serious DIYers bridge the gap between inspiration and heirloom quality. Learn more about our commitment to craftsmanship on our About Us page, and review how we protect your data in our Privacy Policy.